Empowering Tech-Savvy Librarians on a Budget

Tag: Raspberry Pi

  • A Beginner’s Guide to MakerSpaces for Small Libraries

    Designers using 3d-printer

    The idea of launching a MakerSpace can feel intimidating, especially if you’re a small-to-medium-sized library. Expensive equipment, complex technology, and the fear of not having enough space often stop the conversation before it begins. However,

    A MakerSpace isn’t about the room. It’s about a mindset.

    Whether you have a single table, a corner of the reading room, or a small meeting space, your library can build a MakerSpace that fosters creativity, learning, and community engagement—without draining the budget. This guide is designed to help small libraries get started confidently, practically, and affordably.

    What Is a Makerspace?

    A MakerSpace is any area where patrons can learn, create, tinker, and explore using tools and materials provided by the library. It does not need to be high-tech.

    A MakerSpace can include:

    • Craft supplies
    • Coding kits
    • Robotics
    • Art materials
    • 3D printers
    • Digital media tools
    • LEGO bricks
    • Sewing machines
    • Vinyl cutting machines
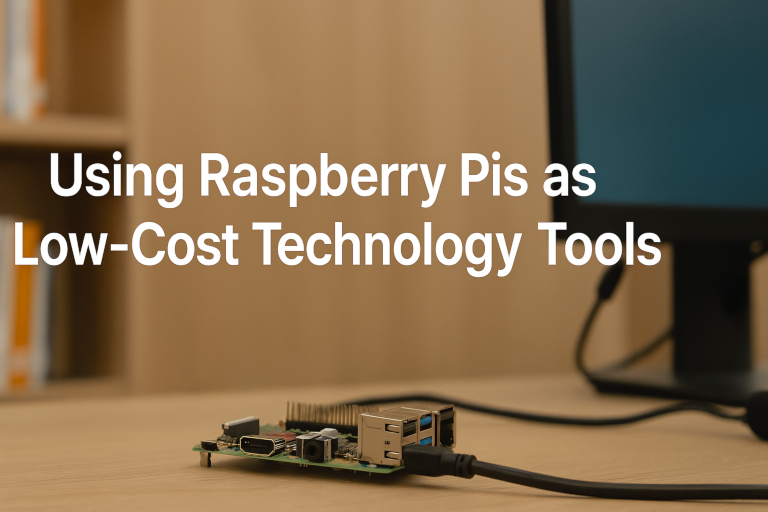
    • Raspberry Pis
    • Photography equipment

    If your library supports creativity and hands-on learning, you may already have the start of a MakerSpace.

    Why MakerSpaces Matter for Small Libraries

    1. They support 21st-century skills.

    Patrons—especially kids and teens—need access to tools that build problem-solving, digital literacy, and creativity.

    2. They expand what the library can offer.

    A MakerSpace instantly turns your building into a hub for hands-on learning.

    3. They strengthen community relationships.

    Local artists, educators, hobbyists, and businesses often love partnering with MakerSpaces.

    4. They don’t need to be expensive.

    With thoughtful planning, your library can start for under $500—or even $0 by using materials you already own.

    Start Small: Choosing Your Makerspace Model

    Not every library needs a fancy room filled with equipment. Here are approachable options for small libraries:

    1. The Pop-Up Makerspace (Most Flexible)

    A pop-up MakerSpace uses mobile carts or bins to bring maker activities to any area of the library. Mobile carts are great for libraries with no dedicated space.

    • Popular pop-up maker activities include button making, LEGO building challenges, creating simple circuits, origami stations, coding with Ozobots or Sphero Minis, 3D pen drawing, and stop-motion animation using iPads.

    2. The Maker Cart (Budget-Friendly Workhorse)

    A rolling cart stocked with supplies becomes a “MakerSpace on wheels.” Staff can roll the cart to storytime, outreach events, the teen room, or classrooms.

    Include things like:

    • Craft tools
    • Duct tape / hot glue
    • Snap Circuits
    • Raspberry Pis
    • Makey Makey kits
    • Mini robots
    • Basic hand tools

    3. The Small Dedicated Corner

    Have room for a table and a few shelves? That’s enough.

    You might include:

    • 1–2 laptops
    • A 3D printer
    • Art supplies
    • A sewing machine
    • A Cricut Joy or Silhouette Portrait
    • Small robotics kits

    Recommended Starter Equipment (Budget-Friendly)

    Recommended budget-friendly starter equipment includes items that offer a good balance of affordability, durability, and ease of use.

    🧩 Low-Cost Starter Items

    • LEGO bricks
    • Play-Doh or modeling clay
    • Button maker + supplies
    • Coloring and crafting materials
    • Recycled cardboard for prototyping

    🖥 Beginner Tech Tools

    • Raspberry Pi kits (~$50–$70)
    • Makey Makey (~$50)
    • Snap Circuits (~$25–$40)
    • Sphero Mini robots (~$55)
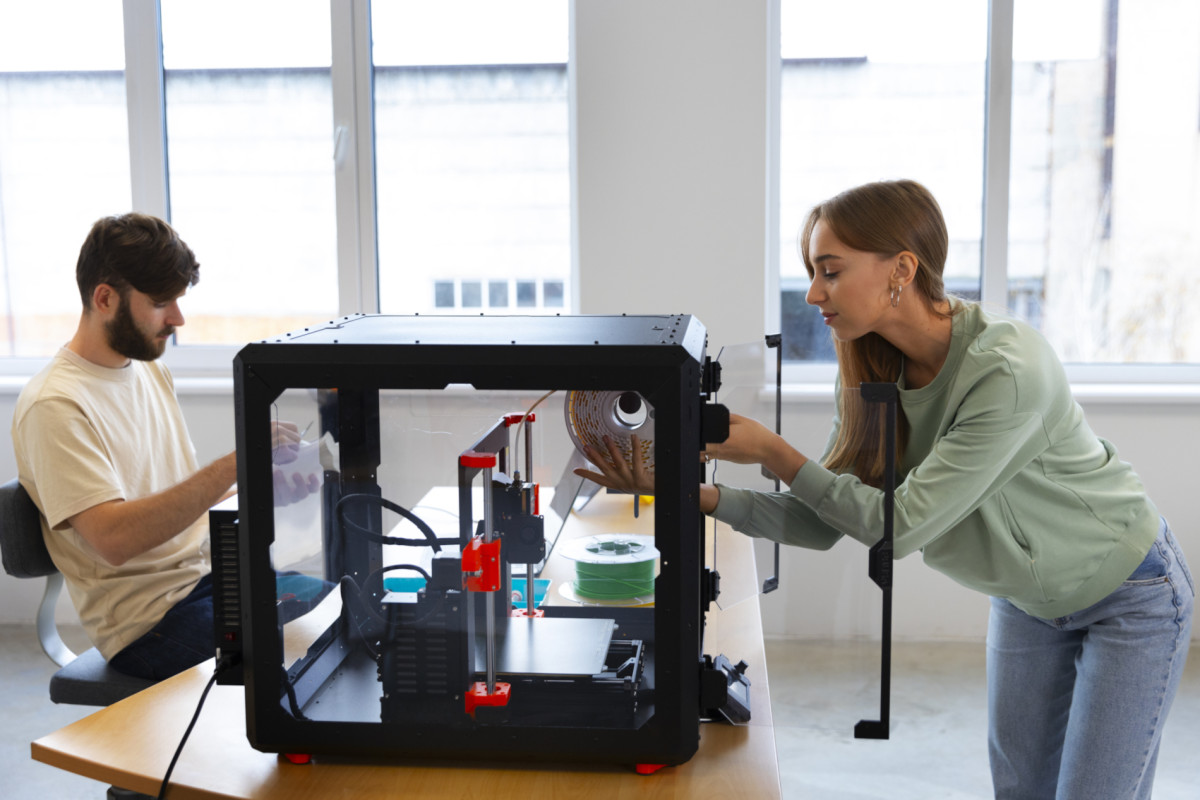
    🖨 3D Printing

    Even a single printer can transform your MakerSpace.

    For small libraries:

    • Bambu Lab A1 Mini – fast, compact, low-cost
    • Bambu Lab P1S – great for higher volume
    • Prusa Mini – excellent but slower

    I find 3D printers offer the biggest “wow” factor for patrons.

    Programming Ideas to Get You Started

    Try offering simple workshops to introduce your MakerSpace to the community.

    Kids & Families

    • LEGO challenges
    • Button-making
    • Build-your-own bookmark station
    • 3D printed keychains
    • Sphero maze races

    Teens

    • 3D modeling basics
    • Coding mini-games in Scratch
    • Vinyl sticker design
    • Anime button art
    • Raspberry Pi retro gaming

    Adults

    • Cricut design workshops
    • Sewing 101
    • Photo digitization
    • “Fix-it Clinic” with community volunteers
    • Make-your-own greeting cards

    Tips for Running a Makerspace in a Small Library

    1. Start with what you have.

    You likely already own items that fit maker programming.

    2. Build slowly—don’t overspend.

    It’s better to grow intentionally than to buy equipment you never use.

    3. Provide guided activities at first.

    Open play is great, but structured programs build confidence.

    4. Make staff comfortable.

    Offer internal mini-trainings so everyone feels confident answering questions.

    5. Partner with community members.

    Local hobbyists love sharing their skills — often for free.

    6. Promote your successes.

    Share photos, stories, and finished projects on social media. Visibility builds momentum.

    How to Fund Your Makerspace

    Small libraries can use:

    • Friends of the Library donations
    • Local businesses (sponsor a printer or robotics kit)
    • Grants from state library organizations
    • STEM education grants
    • Amazon Wish Lists for supplies
    • Community fundraising events

    Even $100 can kickstart meaningful hands-on programming.

    Final Thoughts

    A MakerSpace is less about equipment and more about possibility. Small libraries are often the most creative because they’re used to stretching budgets and rethinking space.

    By starting small, focusing on community needs, and choosing tools strategically, your library can build a MakerSpace that feels welcoming, inspiring, and uniquely yours.

    Creativity doesn’t require a large room—only a place to begin.

  • Using Raspberry Pis as Low-Cost Technology Tools

    Using Raspberry Pis as Low-Cost Technology Tools banner

    Raspberry Pis: Affordable, Flexible, and Built for Creativity

    Raspberry Pis are single-board computers (SBCs) — compact systems that fit an entire computer onto a circuit board the size of a deck of cards. They’re designed with affordability and flexibility in mind, making them a favorite among educators, hobbyists, and budget-conscious technologists.

    A Raspberry Pi typically costs between $35 and $80. Yet, it includes everything needed to run a complete Linux-based operating system, connect to the internet, and power displays, sensors, and other peripherals. This combination of low cost, open hardware, and community-driven support has made the Raspberry Pi a go-to solution for do-it-yourself (DIY) technology projects in libraries, classrooms, and MakerSpaces.

    Libraries, in particular, benefit from their adaptability—a single Raspberry Pi can serve as a public terminal, digital signage player, coding workstation, or IoT controller. With an ever-growing ecosystem of tutorials and accessories, these little boards can stretch a technology budget further than almost any other device on the market.


    Learn by Doing

    The Raspberry Pi encourages an active, hands-on learning approach. Instead of passively reading about computers, you build and experiment with one directly, all without the worry of breaking more expensive, mission-critical hardware.

    From the moment you install the operating system to connecting sensors or writing your first Python script, the Pi makes technology tangible and interactive. It teaches troubleshooting, logic, and creative problem-solving—skills that are invaluable for both staff and patrons in a library setting.

    Libraries can use Raspberry Pis to teach digital literacy and STEAM skills:

    • Let patrons explore coding in Scratch or Python.

    • Host “build your own computer” workshops, where participants assemble and boot their own Pi.

    • Create technology petting zoos where visitors can safely experiment with hardware and coding without fear of “breaking” anything important.

    The experience of tinkering, failing, and iterating builds confidence—the very essence of learning by doing.


    Digital Signage

    Instead of paying for commercial display systems, a Raspberry Pi can drive a wall-mounted monitor using free tools like Screenly or Yodeck.

    At the Westhampton Free Library, we take this a step further using GoBoard—an open-source, cross-platform digital signage server created by my colleague Walter Pesce. It’s a great example of how open-source software and affordable hardware can combine to create sustainable, customized solutions for libraries on a tight budget!


    Public Terminals or OPAC Stations

    Many libraries have old PC accessories—monitors, keyboards, mice—collecting dust. A Raspberry Pi can bring them back to life as OPACS or public browsing/email stations.

    As I discussed in my previous post, Repurposing Older PCs as OPAC Stations with Debian Linux and OpenKiosk, you can install OpenKiosk on Raspbian (the Pi’s Debian-based OS) to create an inexpensive and locked-down OPAC station.

    It’s a simple, cost-effective way to expand public access without purchasing expensive new computers.


    STEAM Education

    Raspberry Pis are perfect for Maker and STEAM programming. They support popular educational tools like Scratch (for block-based coding) and Python (for text-based coding), allowing learners to build games, automate devices, or explore robotics.

    Projects like blinking an LED, running a weather station, or programming a robot arm all become accessible with a Pi and a few low-cost components. Libraries can use these projects to inspire curiosity and creativity among kids, teens, and adults.


    Project Ideas for Libraries

    If you’re wondering how Raspberry Pis can be used in your library, here are a few practical and creative project ideas that make the most of their flexibility:

    • 🖥️ Program / Event Display Board: Mount a monitor in your lobby that automatically shows upcoming programs, weather, or local community news.

    • 📚 OPAC Station: Combine a Raspberry Pi and OpenKiosk to let patrons search the catalog.

    • 🔧 STEAM Maker Kit: Create checkout kits that include a Raspberry Pi, keyboard, mouse, and preloaded coding tutorials for learning at home.

    • 📷 Photo Booth or Green Screen Station: Set up a Pi with a USB camera and free software like PiCamera for fun community photo projects.

    • 🏫 Library Server Sandbox: Use a Pi as a small web server to teach basic web hosting, HTML editing, or even run a mini intranet for staff.

    These small, low-cost experiments can have an enormous impact on learning and community engagement.


    Final Thoughts

    The big takeaway is simple: Raspberry Pis stretch tight budgets. They’re inexpensive, versatile, and educational—but they’re not meant to replace full desktop PCs. Think of them as flexible building blocks for creative, low-cost tech solutions that can make a big impact in public libraries.

    And if you want to take things further, you can explore more powerful single-board computers (SBCs) like the Odroid, Rock 5, or GMKtec Mini PC, which can handle heavier workloads while still keeping costs somewhat reasonable.


    Resources

    Here are a few places to start if you’d like to explore Raspberry Pi projects or set one up in your library: